
Peepholes are convenient, but they also offer a sense of security. Whether you’re looking to see what noise you heard outside was or you simply want to check the weather, there’s no denying its benefits. Since many doors don’t have peepholes, it could be up to you to DIY the installation.
Are you ready to learn how to install a peephole in your door and determine the ideal height for it?
In this guide, you’ll discover everything you need, from a list of necessary supplies to a detailed step-by-step installation process. We’ll also explore whether you truly need a peephole and share additional tips to ensure the job is done right.
Prepare for Peephole Installation: Tools and Materials
Installing a peephole is incredibly easy as long as you have the right tools for the job. You have to use power tools, so you might want to check out the section below about hiring a pro if you’re uncomfortable using them.
Here are the tools and supplies you’ll need to install a peephole in your door:
- A marker, pen, or pencil to mark the location of the peephole before you drill. Never try to eyeball it!
- Measuring tape to line up the middle of the door as well as your desired height.
- Safety glasses and gloves to protect your eyes and hands from flying wood or metal debris.
- A power drill to cut a hole wherever you want your peephole.
- Twisting drill bits to fit the size of the viewer that you purchase. There should be measurements and requirements on the packaging.
- Silicone sealant to secure the viewer in place.
- (Optional) A stool or step ladder to elevate yourself to the level of the peephole.
- (Optional) Tape to mark the depth of your drill bit when drilling into wooden doors.
Step-by-Step Instructions to Install a Peephole in Any Door
Once you’ve gathered all of the tools you need, it’s time to start getting to work. This is a one-person job, but it doesn’t hurt to have a helping hand nearby in case you need someone to pass you the tools that you need.
Without further ado, let’s jump into the step-by-step instructions below:
- Start by finding the height that you want the viewer to be at. You can either take the average of everyone’s height in your family or set it at 5 feet to 6 feet tall. You should also make sure that you measure the width of your door to locate the center point for your peephole. When you’ve found both measurements, mark the area with a marker.
- Wrap tape around the base of your drill bit. You should measure the width of your door, then wrap the tape at the same depth on the bit. This will prevent you from drilling too far through to the other side.
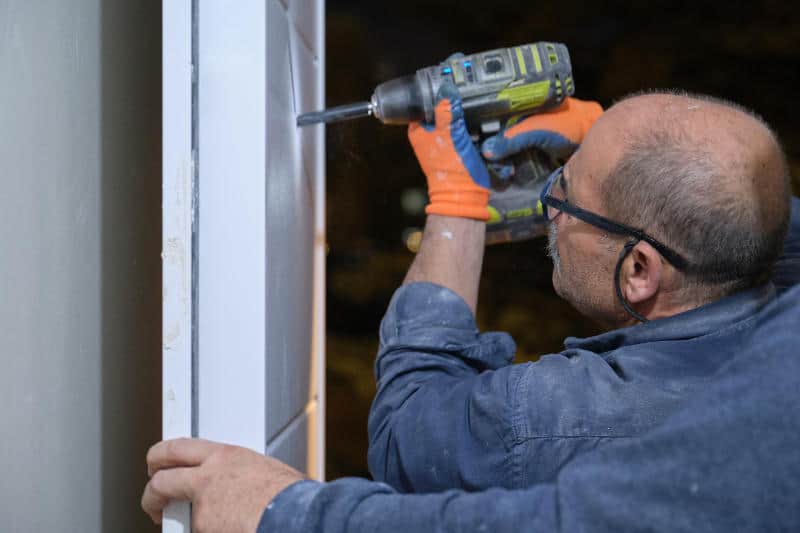
- Attach the twisting drill bit to your power drill and slowly cut into the door on the marked spot on the outside. All viewers will come with the exact size you need, so don’t stress about picking the wrong size. If you can’t find the right bit on the packaging, line it up with the viewer. The viewer should be the same width as the twisting bit at its base.
- Head around to the inside once the drill bit pokes through, then repeat the same process from the interior of the door. After you’ve successfully drilled through both sides of the door, you should have a perfect circle right at the marked spot. Use a rag to remove debris and clear the hole completely.
- Separate the viewer by removing the lens from the barrel, then slide the lens through the hole you’ve just created. The lens has threads on the outside, so once you slide it through, hand-tighten the barrel on the other side of the door. Note: Remember to put the lens on the inside, not the outside!
- Before you complete the seal, place a bead of silicone caulking around the edge of the lens. This sealant will prevent moisture from entering, but it also helps to secure a tight hold for many years to come.
- Use the tool that came with the viewer (or a quarter) to finish the tightening process. This will lock it in place, but make sure you don’t strip the threads. A few snug turns will be more than enough.
As you can see, it’s not too complicated to install a peephole in a door. If you’re used to working on DIY home renovations, you can get through the whole process in under 15 minutes. Even if you’ve never done something like this before, it shouldn’t last longer than about fifteen minutes or so.
Common Mistakes to Avoid
Despite the simplicity of the installation, there are definitely a few steps that can be botched. Missing out on these mistakes and how to avoid them could cost you quite a bit of money.
If you’re worried about messing up, check out these common problems that beginners run into:
- Don’t forget to add the silicone bead at the end. If you do, you’ll end up either having to continuously tighten the peephole throughout the year, or moisture will build up. When wood rot occurs, you’ll eventually have to replace the entire door. An inexpensive silicone tube could save you hundreds of dollars!
- Never cut corners and drill straight through. Remember that you have to create a pilot hole from the outside before you drill through on the inside. Failure to do so could cause your door to splinter, leaving gaps around your peephole. Not only will it look tacky, but it can actually invite termites.
- Always measure and mark before you drill. Trying to eyeball it will never work out in your favor. You have to measure the height as well as the width before marking. It only takes about 30 seconds, but this step will give your door a much smoother appearance. You’ll thank yourself later.
- Make sure you use the correct bit size. Traditional drill bits won’t work at all; You need to have a twisting bit to get a perfect circle. Always refer to the size mentioned on the packaging. For reference, most peephole viewers require a ⅜-inch bit. This measurement could change, though, so check before you drill.
- Drill at a 90-degree angle or you’ll mess up the installation. Since the viewer needs to slide straight in at eye-level, you need to hold the drill perpendicular to the door. If you get even the slightest angle while drilling, the viewer won’t slide it. You’ll be stuck with a massive hole in your front door.
Should You Pay a Pro or DIY?
Sometimes, paying a professional to do it for you is easier and less stressful. But let’s be honest, you’re here because you want to know how to do it yourself. There are plenty of home renovations that require pro assistance, but this isn’t one of them. You can have everything done in a short period of time.
If you’re set on hiring someone else to do it for you, then you’ll have to fork up around $100 for a viewer installation. This is 3 to 4 times the amount of money you’d pay if you did it yourself, not to mention that you’d have to wait for their time window to open up.
In short, hiring a professional might be convenient in some ways, but the money isn’t worth it. By gathering the necessary tools and supplies, you can have a brand-new door viewer in your front door in no time. Why pay a pro when you can DIY?
To Conclude
You can install a peephole in a door in under 15 minutes max. With the help of a friend or adequate knowledge on the topic, you’ll be able to finish it in five minutes or less. All in all, installing a door viewer is one of the easiest renovations that you can do for your house.
Here’s a quick recap of the post:
- Always measure and mark before you start drilling.
- Create a pilot hole prior to drilling the main hole from the inside.
- Wooden doors have a tendency to splinter.
- Remember to use silicone caulking to prevent moisture from entering.
- Drill at a 90-degree angle for the peephole.


